Installing wainscoting can transform any space by adding texture, depth, and a touch of elegance. One of the trickiest parts, however, is dealing with corners.
How would you install wainscoting around them?
In this blog post, we’ll break down how to install wainscoting around both outside and inside corners using various methods.
1. Mitered Joint

This method involves cutting the ends of two adjoining boards at a 45-degree angle. When these two ends are joined, they form a 90-degree angle, perfect for both outside and inside corners.
For the outside corner, the two 45-degree cuts will face outward to seamlessly meet at the point. And for the inside corner, the two 45-degree cuts face inward, hugging the recessed angle.
2. Butt Joint

In a butt joint, one board ends at the corner, and the adjoining board starts immediately after, essentially “butting” up against the first.
For the outside corner, one board finishes on the edge, and the next starts on the adjacent wall. And for the inside corner, you can just do the same, but in a recessed fashion.
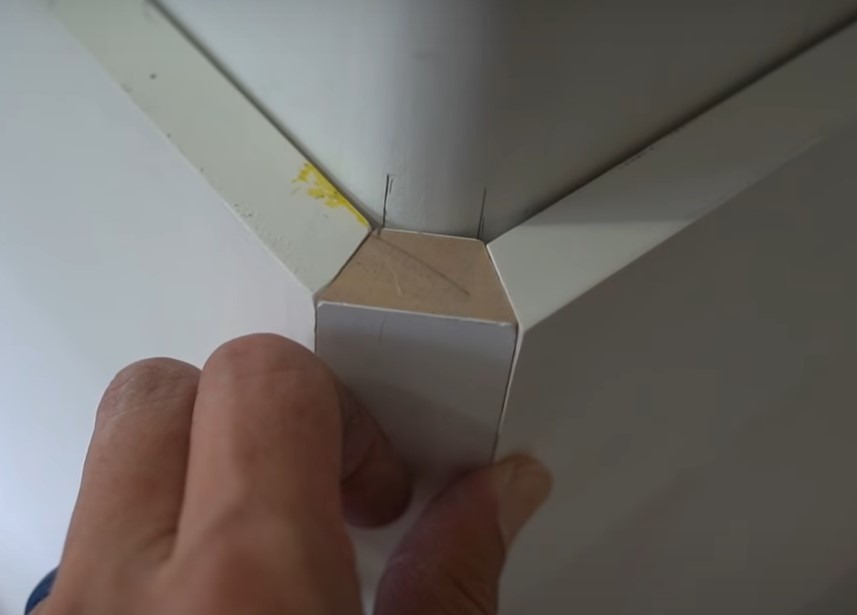
3. The Bullnose Wrap

For corners with a rounded or bullnose profile, achieving a seamless wainscoting transition requires a distinctive approach.
Start by cutting the ends of both intersecting boards at a 60-degree angle. This leaves a space that perfectly accommodates a trapezoid-shaped connector piece.
Introduce this small trapezoidal board as a bridge between the two angled cuts, ensuring a smooth and continuous wrap around the bullnose corner.
This technique not only provides structural integrity but also offers an aesthetically pleasing finish.
4. The Seamless Beadboard Joint
When working with beadboard wainscoting, achieving a seamless look around the corners requires a touch of creativity. Here’s an effective technique I found from Charles Miller:
Rather than having the tongue of one board meet the groove of the other at the corner, position the beadboard so that both intersecting ends have grooved edges. This will leave a small gap at the corner.

To replicate the beadboard’s distinctive bead, place a 1/4-inch diameter dowel into this gap. Secure it in place using construction adhesive. This method not only gives the appearance of a continuous bead but also ensures a seamless transition around the corner.